DS8000 Service Documentation Version 6.3.3
Cabling and connecting the management console to the customer network and phone line
Procedure
- Route and connect the customer Ethernet
cable.
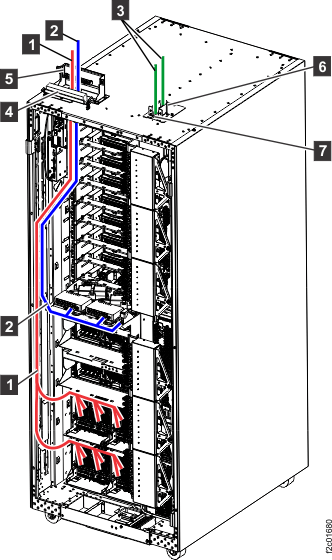
- Route the Ethernet cable through the tailgate 6 ,
up the left side of the rack alongside the FC-AL
cables and then to the rear eth2 connector 3 .
Use cable ties 4 and 5 to
secure the cable to the left side of the rack. Refer to Figure 1. Figure 1. Routing customer and private network Ethernet cables
- Connect the cable to the customer Ethernet
port (eth2) connector. See Figure 2 (ThinkPad laptop).
For the ThinkPad laptop drawer, an extender cable is already connected
to the laptop and is routed to the eth2 connector at the rear of the
rack. Note: If the customer requests the Media Access Control (MAC) address of the HMC port they will connect to, refer to MAP6010 Displaying the HMC MAC address for the customer connection.Figure 2. ThinkPad laptop customer modem and Ethernet connectors, rear of rack
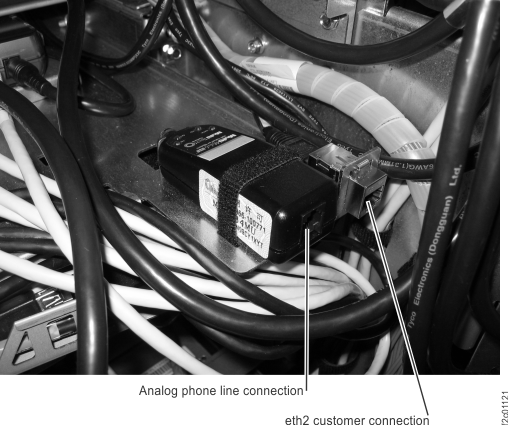 Note: Ethernet connector and modem connector might be reversed on some racks. Both connectors are at the rear of the rack, to the right of the Ethernet switches, below the bottom storage enclosure air baffle.
- Route the Ethernet cable through the tailgate 6 ,
up the left side of the rack alongside the FC-AL
cables and then to the rear eth2 connector 3 .
Use cable ties 4 and 5 to
secure the cable to the left side of the rack. Refer to Figure 1.
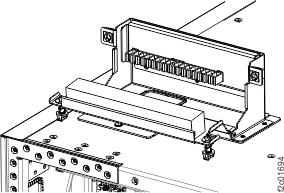
- Open
the top tailgate (if not open). Unfasten the top tailgate retention
bracket, and rotate it open. See Figure 3. Figure 3. Top tailgate
- Route and connect the customer
Ethernet cable.
- Locate the customer-supplied Ethernet cable.
- Ensure the cable has been routed between the customer ethernet connector and the rack-1 top tailgate.
- Ensure the customer end of the cable is connected to the customer network port.
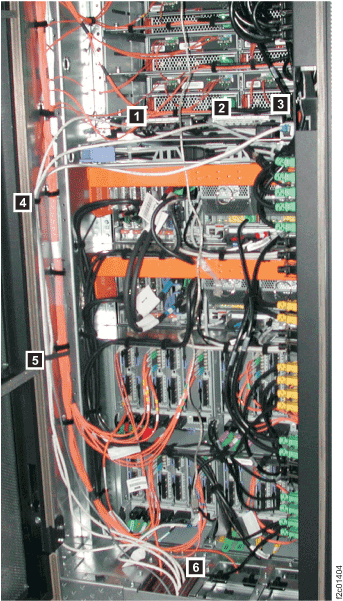
- Route the Ethernet cable down through the top tailgate. Carefully route the cable ( 2 , Figure 4) through the channel in the left rear of the rack and across to the rear eth2 connector (Figure 2).
- Leave some slack in the cable between the eth2 connector and the tailgate. Secure the cable in the tailgate cable retention slot.
Figure 4. Overhead cable management (top exit) for Fibre Channel, communication, and power cables